
 Mary Berry Dishes Team
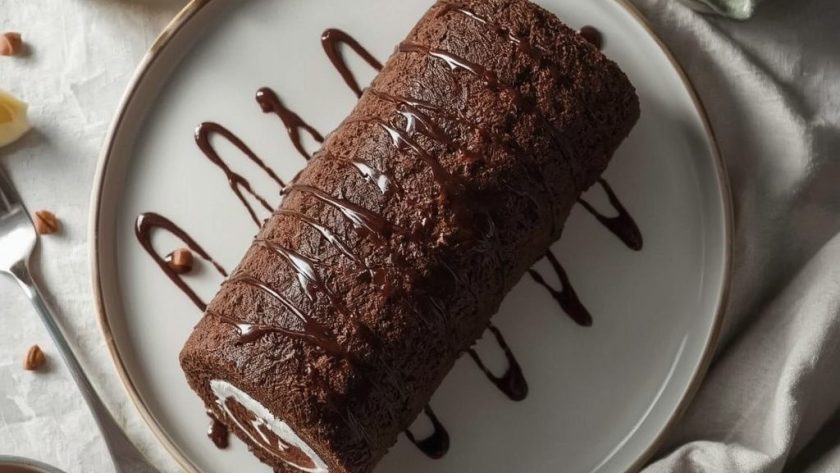
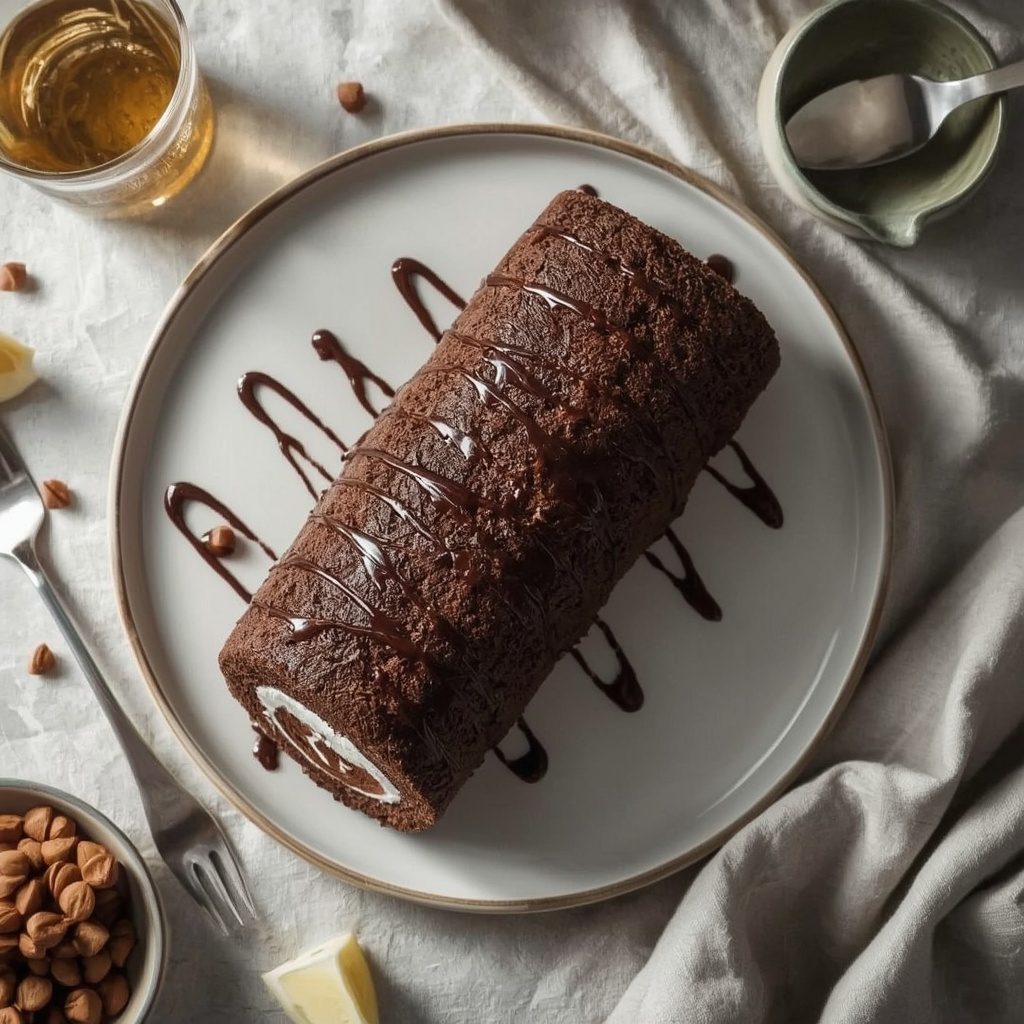
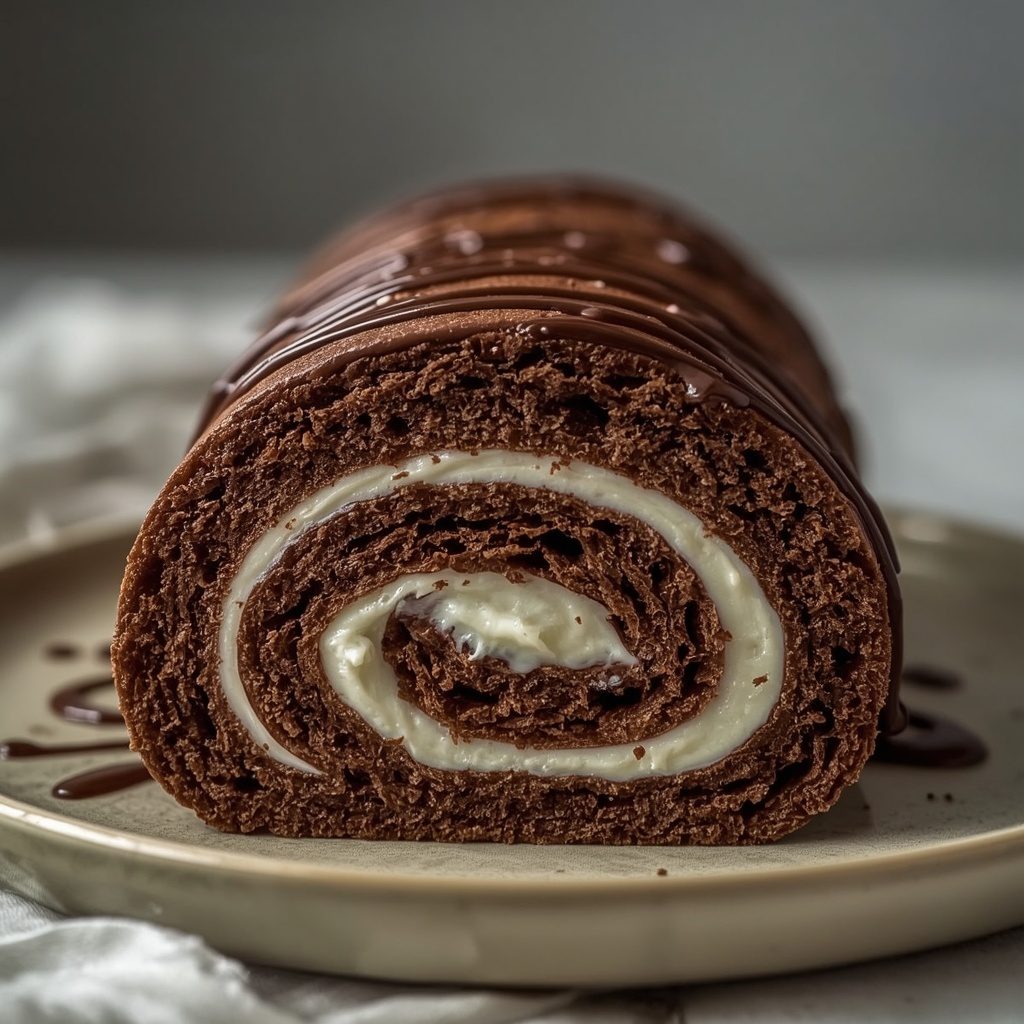
Mary Berry chocolate Swiss roll is a light, feathery chocolate sponge wrapped around a cloud of vanilla cream and finished with a glossy chocolate drizzle. The sponge is soft and pliable, with a deep cocoa flavour that stays moist against the cream, and the swirl gives every slice a neat spiral of filling. This version is inspired by Mary Berry and is written to be reliable and straightforward, with clear stages and no guesswork. Make it for afternoon tea, a Sunday lunch pudding or a celebration table.
Serves: 8 slices · Ready in: 37 minutes · Skill: Easy · Make ahead: Yes
Ingredients
For the Sponge
- 4 large eggs
- 100g caster sugar — plus extra for dusting
- 75g self-raising flour
- 25g cocoa powder
- 1 tbsp whole milk
For the Filling
- 200ml double cream
- 2 tbsp icing sugar
- 1 tsp vanilla powder
For the Topping
- 50g dark chocolate (70% cocoa) — finely chopped
- 25g unsalted butter
How to Make Mary Berry Chocolate Swiss Roll
Stage 1: Prepare the Tin
Preheat the oven to 180°C (160°C fan) / gas 4. Grease a 33 x 23cm Swiss roll tin and line the base and sides with baking parchment, leaving a little overhang at the short ends to help you lift the cake later. Have the eggs at room temperature before you begin, as they whisk to a fuller volume.
Stage 2: Make the Sponge
Whisk the eggs and 100g caster sugar in a large bowl using an electric hand whisk on high speed for 4–5 minutes, until the mixture is pale, thick and leaves a trail that holds for a few seconds when the whisk is lifted. This stage is crucial for a light sponge, so do not rush it. Sift the 75g self-raising flour and 25g cocoa powder together over the egg mixture, add the 1 tbsp milk and fold everything together with a large metal spoon or spatula, using a light cutting and folding motion until just combined. Stop as soon as no streaks of flour remain; overmixing will knock out the air and make the sponge heavy.
Stage 3: Bake and Roll While Warm
Pour the batter into the prepared tin and spread it evenly to the corners with a palette knife or the back of a spoon. Bake for 10–12 minutes, until the sponge is risen, springy to the touch and shrinking slightly from the sides of the tin. Avoid overbaking, or it will crack when rolled. While it bakes, lay a clean tea towel on the worktop and dust it generously with caster sugar, and have a second sheet of baking parchment ready.
As soon as the sponge comes out of the oven, run a small knife around the inside edge of the tin to loosen it. Turn the hot sponge out onto the sugared tea towel, peel off the lining parchment, then place the second sheet of parchment on top. Roll the sponge up tightly from one short end, rolling the towel and parchment inside, and leave to cool completely on a wire rack, seam-side down. Rolling while hot is what keeps the cake supple enough to unroll later.
Stage 4: Fill and Roll
For the filling, whisk the 200ml double cream with the 2 tbsp icing sugar and 1 tsp vanilla powder in a bowl until it holds soft peaks. It should be thick enough to spread but not stiff or grainy. Gently unroll the cooled sponge and remove the top sheet of parchment. Spread the vanilla cream evenly over the sponge, leaving a 2cm border along one short edge. Re-roll tightly from the opposite short end, using the parchment to help, then place seam-side down on a serving plate.
Stage 5: Add the Topping
For the topping, melt the 50g dark chocolate and 25g unsalted butter together in a small heatproof bowl set over a pan of barely simmering water, stirring until smooth and glossy. Remove from the heat and leave to cool for 5 minutes, until thickened but still pourable. Drizzle the chocolate topping over the rolled cake in a zigzag pattern. Leave to set for 10–15 minutes before slicing with a sharp knife, cleaning the blade between cuts for neat slices.
Make Ahead and Storage
- The day before — bake, roll and cool the plain sponge, then keep it wrapped and rolled at room temperature; fill and top on the day.
- Up to a month ahead — bake, roll and freeze the unfilled sponge; defrost, unroll, fill and re-roll when you need it.
- To serve — bring the finished roll out of the fridge 20 minutes before slicing so the cream and sponge soften.
Store the Swiss roll in an airtight container in the fridge for up to 3 days. To freeze, freeze the filled roll whole on a tray until solid, then wrap well and keep for up to 2 months; defrost overnight in the fridge and add the topping just before serving. The topping freezes well separately, so re-melt it gently when you are ready to drizzle.
If Something Goes Wrong
Most problems with a Swiss roll come from under-whisking the eggs, overbaking the sponge or rolling it when cold.
| Problem | Why it happens | How to fix it |
|---|---|---|
| Sponge cracks when rolled | Baked a minute or two too long | Roll it warm and slowly; patch cracks under the cream |
| Sponge is flat and dense | Eggs under-whisked or batter overfolded | Whisk to a thick ribbon and fold only until combined |
| Roll will not unroll | Left rolled until completely cold | Unroll gently with the parchment; warm briefly if brittle |
| Cream oozes out at the sides | Overfilled, or border not left at the edge | Keep the 2cm border clear and roll from the opposite end |
Ways to Vary It
- Orange chocolate — add the finely grated zest of 1 orange to the sponge batter with the milk.
- Raspberry cream — fold 100g lightly crushed raspberries into the whipped cream just before spreading.
- Gluten-free — swap the self-raising flour for 75g gluten-free self-raising flour blend and fold as gently as before.
What to Serve with Chocolate Swiss Roll
Serve slices with pouring cream or custard for a Sunday lunch pudding, or a dollop of crème fraîche to cut through the chocolate. A pot of tea or a cup of coffee is all it needs alongside. For a larger spread, add fresh berries on the side.
Nutrition per Serving
Estimated values per serving, worked out from the ingredients above. %RI is the share of an adult’s reference intake (8,400kJ / 2,000kcal).
| Per serving | Amount | %RI |
|---|---|---|
| Energy | 1,142kJ / 273kcal | 14% |
| Fat | 17g | 24% |
| of which saturates | 10g | 50% |
| Carbohydrate | 25g | 10% |
| of which sugars | 18g | 20% |
| Fibre | 1g | – |
| Protein | 5g | 10% |
| Salt | 0.21g | 4% |
FAQs
Can I make this Mary Berry chocolate Swiss roll recipe ahead?
Yes. The unfilled rolled sponge can be made up to 1 day ahead and kept covered at room temperature, or frozen for up to 1 month. Fill and top it on the day you plan to serve for the best texture.
Can you freeze a chocolate Swiss roll?
The filled roll freezes well for up to 2 months. Freeze it whole on a tray until solid, then wrap well; defrost overnight in the fridge and add the topping just before serving.
What size tin do I need?
A 33 x 23cm Swiss roll tin gives a thin, even layer that rolls without cracking. If your tin is slightly different, spread the batter to the same depth and watch the baking time closely.
How do I know the sponge is baked?
It should be risen, springy to the touch and shrinking slightly from the sides of the tin after 10–12 minutes. Overbaking makes it crack, so take it out as soon as it springs back.
PrintMary Berry-Style Chocolate Swiss Roll
A light, feathery chocolate sponge rolled with a cloud of vanilla cream and a glossy chocolate drizzle. Inspired by Mary Berry’s classic baking, this version is reliable and straightforward, perfect for afternoon tea or a celebration. The sponge stays soft and pliable thanks to a quick roll while warm, giving that signature swirl.
- Prep Time: 25
- Cook Time: 12
- Total Time: 37
- Yield: 8 1x
- Category: Dessert
- Method: Baking
- Cuisine: British
Ingredients
- 4 large eggs
- 100g caster sugar, plus extra for dusting
- 75g self-raising flour
- 25g cocoa powder
- 1 tbsp whole milk
For the Filling
- 200ml double cream
- 2 tbsp icing sugar
- 1 tsp vanilla powder
For the Topping
- 50g dark chocolate (70% cocoa), finely chopped
- 25g unsalted butter
Instructions
- Preheat the oven to 180°C (160°C fan) / gas 4. Grease a 33 x 23cm Swiss roll tin and line the base and sides with baking parchment, leaving a little overhang at the short ends to help lift the cake later.
- Whisk the eggs and caster sugar in a large bowl using an electric hand whisk on high speed for 4–5 minutes, until the mixture is pale, thick and leaves a trail that holds for a few seconds when the whisk is lifted. This stage is crucial for a light sponge, so do not rush it.
- Sift the self-raising flour and cocoa powder together over the egg mixture. Add the milk and gently fold everything together with a large metal spoon or spatula, using a light cutting and folding motion until just combined. Stop as soon as no streaks of flour remain; overmixing will knock out the air and make the sponge heavy.
- Pour the batter into the prepared tin and spread it evenly to the corners with a palette knife or the back of a spoon. Bake for 10–12 minutes, until the sponge is risen, springy to the touch and shrinking slightly from the sides of the tin. Avoid overbaking, or it will crack when rolled.
- While the sponge bakes, lay a clean tea towel on the worktop and dust it generously with caster sugar. Have a second sheet of baking parchment ready.
- As soon as the sponge comes out of the oven, run a small knife around the inside edge of the tin to loosen it. Turn the hot sponge out onto the sugared tea towel, peel off the lining parchment, then place the second sheet of parchment on top. Roll the sponge up tightly from one short end, rolling the towel and parchment inside, and leave to cool completely on a wire rack, seam-side down.
- For the filling, whisk the double cream with the icing sugar and vanilla powder in a bowl until it holds soft peaks. It should be thick enough to spread but not stiff or grainy.
- Gently unroll the cooled sponge and remove the top sheet of parchment. Spread the vanilla cream evenly over the sponge, leaving a 2cm border along one short edge. Re-roll tightly from the opposite short end, using the parchment to help, then place seam-side down on a serving plate.
- For the topping, melt the dark chocolate and butter together in a small heatproof bowl set over a pan of barely simmering water, stirring until smooth and glossy. Remove from the heat and leave to cool for 5 minutes, until thickened but still pourable.
- Drizzle the chocolate topping over the rolled cake in a zigzag pattern. Leave to set for 10–15 minutes before slicing with a sharp knife, cleaning the blade between cuts for neat slices.
Notes
Store the Swiss roll in an airtight container in the fridge for up to 3 days. Allow it to come to room temperature for 20 minutes before serving for the best texture. The uniced rolled sponge can be made up to 1 day ahead and kept covered at room temperature, or the filled roll can be frozen for up to 2 months: freeze whole on a tray until solid, then wrap well; defrost overnight in the fridge and add the topping just before serving. Freeze the topping separately if you like and re-melt gently. For a make-ahead option, the sponge can be baked, rolled and frozen unfilled for up to 1 month; defrost, unroll, fill and re-roll.
Nutrition
- Calories: 273
- Sugar: 18g
- Sodium: 85mg
- Saturated Fat: 10g
- Carbohydrates: 25g
- Fiber: 1g
- Protein: 5g
- Cholesterol: 115mg
Keywords: Mary Berry chocolate Swiss roll, chocolate Swiss roll recipe, chocolate sponge roll, Mary Berry style baking, easy Swiss roll, British classic cake, rolled chocolate cake, vanilla cream filling, afternoon tea cake